Creating SSH keys and connecting through them
Create a key in Windows
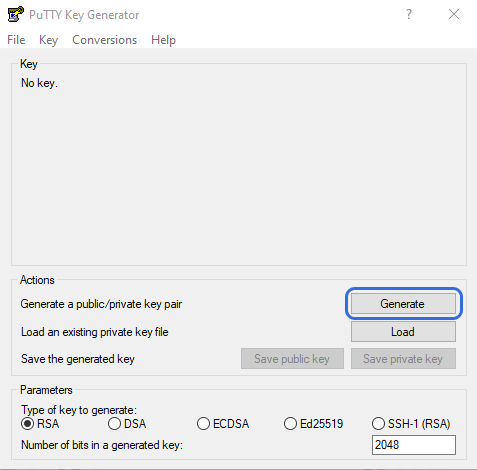
To do this we will need the PuTTYgen application, which you can download one of its portable versions below:
Click the "Generate" button and swipe the mouse to random parts of our screen (this will create a unique key).
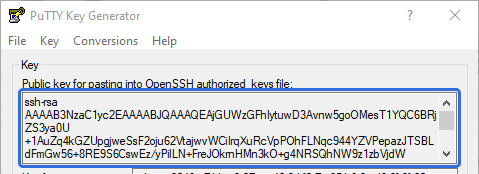
After generation, the generated key will appear in the top section "Public key", which you can also save using the button below.
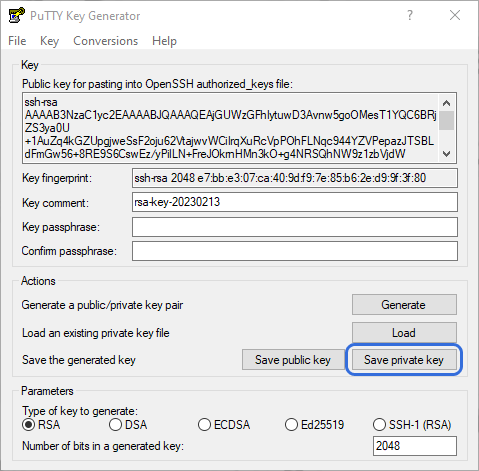
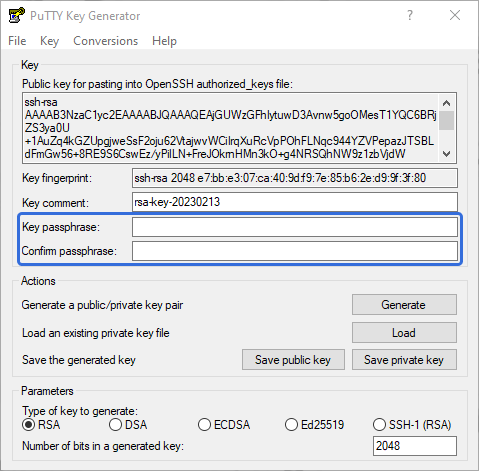
For more security, you can double specify a second "private" password by entering it in the "Key passphrase" line. It will be required every time you connect to the server. Let's save it to a convenient place.
Information
The name of the key files can be anything
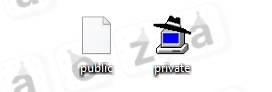
After saving, we will get 2 separate files with each of them:
Using nano (console text editor)
Let's connect to the server and type the command to create the keys file:
nano /root/.ssh/authorized_keys
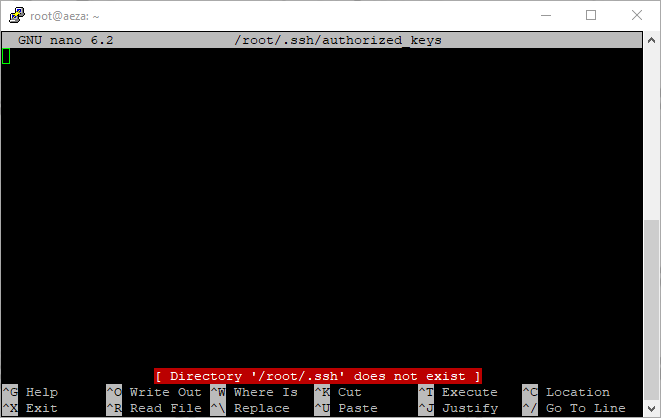
After that we will see an empty text file where we need to copy the previously created public key:
Paste our key via right-click.
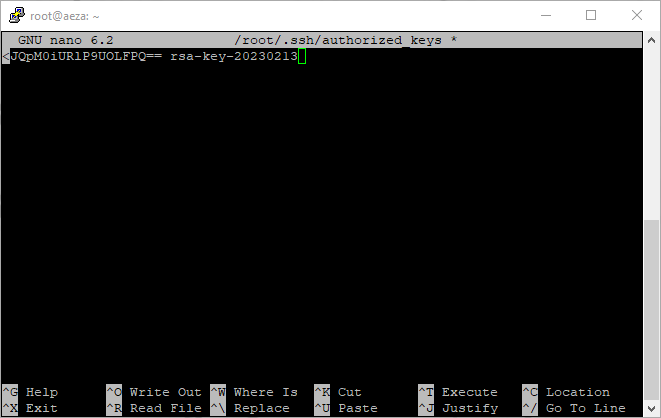
Press the keyboard shortcut Ctrl + X and save the file (with the letter Y):

Using sFTP to transfer the public key file
Connect to the server and navigate to the .ssh directory.
Find an empty authorized_keys file and open it PKM to edit it.
Paste the contents of our public key.
Save the changes and send them to the server.
Connecting via SSH key
Open the PuTTY server connection program and specify the IP address of our server.
In the left menu open the "SSH" tab and then "Authentication" tab.
Specify the location of our private key, which has a .ppk extension. Click the "Connect" button.
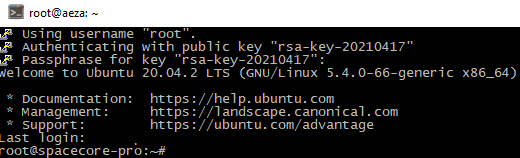
In the connection interface, specify the login. Specify your Passphrase code (which we assigned when generating the key), in our case "aeza".
Saves your settings for quick login
To save time, you can save your connection details in PuTTY.
Let's specify login by adding "@" to it IP servers and bind the private key. Let's enter the name of the saved connection (session) settings.
Information
username@IP-address
Done! From now on, all you have to do is select the session you want and click "Download". Or double click on the desired template.

If there is a installed private key, the server will prompt you to enter it.
Now you can be sure that your data is safe!
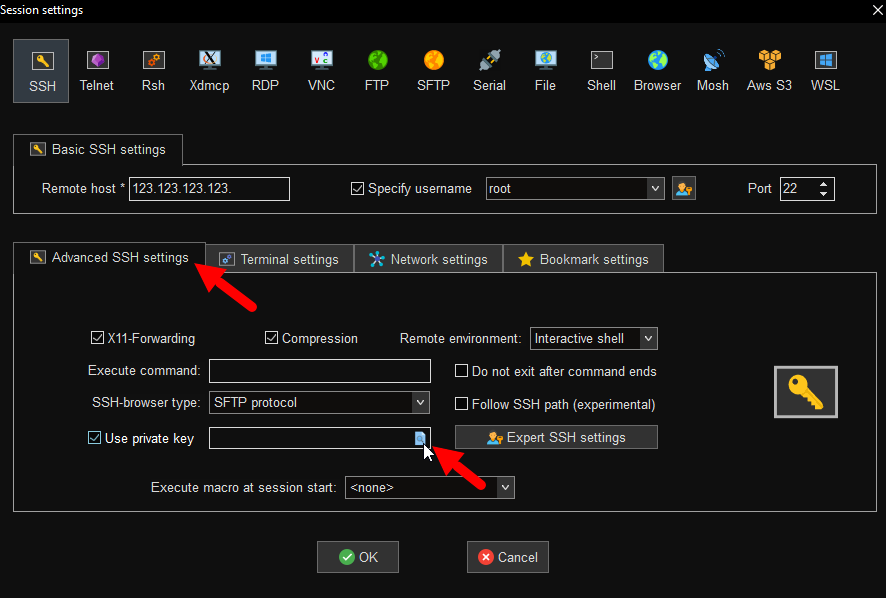
If you use MobaXterm to connect, you can specify the path to the created ssh key in "Advanced SSH settings" section.